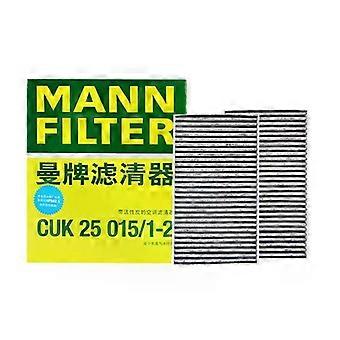
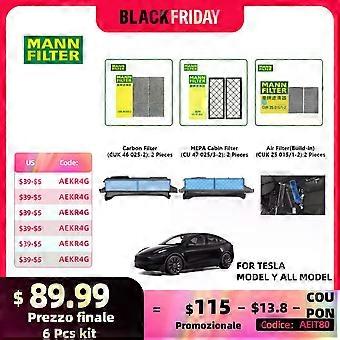
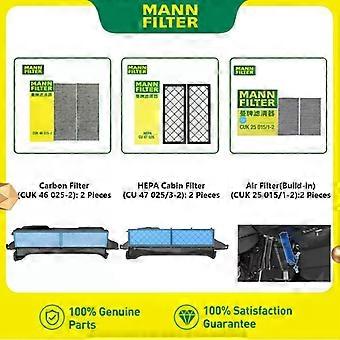
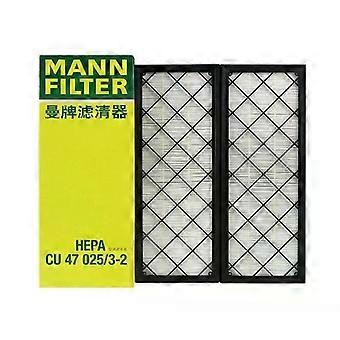
HEPA Carbon Cabin Filter Kit For Tesla Model Y Model 3 EV MANNFILTER CUK25015/21-2 CUK46025/1-2 CU47025/3-2 Build-in Air Filter
GRATIS verzending

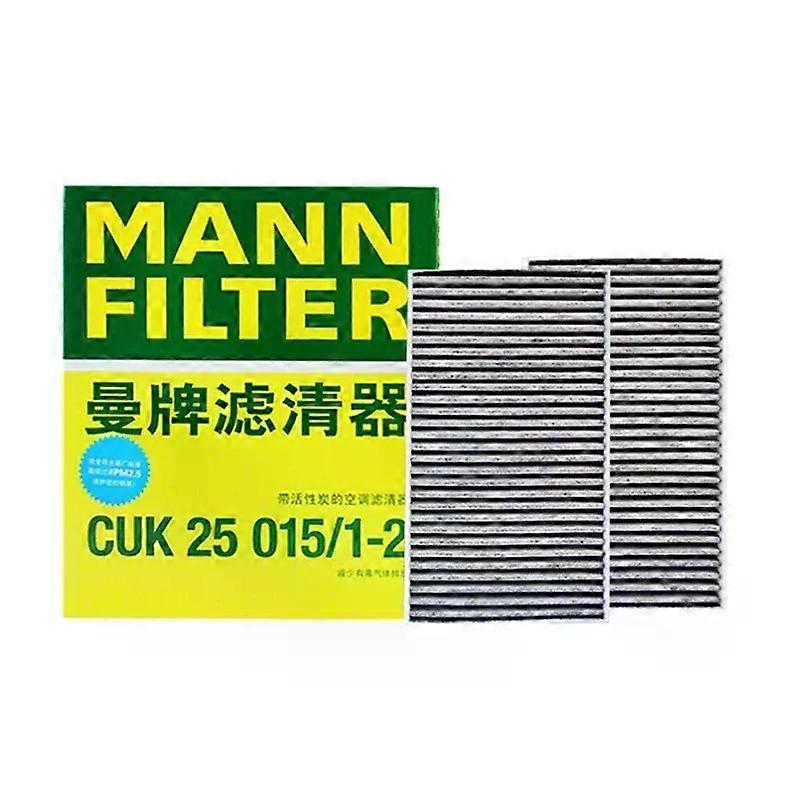
HEPA Carbon Cabin Filter Kit For Tesla Model Y Model 3 EV MANNFILTER CUK25015/21-2 CUK46025/1-2 CU47025/3-2 Build-in Air Filter
- Merk: Unbranded
HEPA Carbon Cabin Filter Kit For Tesla Model Y Model 3 EV MANNFILTER CUK25015/21-2 CUK46025/1-2 CU47025/3-2 Build-in Air Filter
- Merk: Unbranded
We accepteren de volgende betalingsmethoden
Beschrijving
- Merk: Unbranded
- Categorie: Klimaatbeheersing voor motorvoertuigen
-
Kleur: CUK25015-1-2
- Fruugo-ID: 419606134-884341435
- EAN: 1289096048441
Productveiligheidsinformatie
Raadpleeg de onderstaande productveiligheidsinformatie die specifiek is voor dit product
De volgende informatie wordt verstrekt door de onafhankelijke externe detailhandelaar die dit product verkoopt.
Productveiligheidslabels

Levering & retouren
Wordt binnen 24 uur verzonden
-
EXPRESS: GRATIS - Levering tussen vr 07 november 2025–ma 24 november 2025 - GRATIS
Verzending vanaf China.
We doen ons best om ervoor te zorgen dat de producten die u bestelt volledig en volgens uw specificaties bij u worden afgeleverd. Mocht u echter een onvolledige bestelling ontvangen of andere artikelen dan degene die u heeft besteld, of als er een andere reden is waarom u niet tevreden bent met de bestelling, dan kunt u de bestelling retourneren, of welk product dan ook die bij de bestelling was inbegrepen, en ontvangt u een volledige terugbetaling voor de artikelen. Bekijk het volledige retourbeleid
Productconformiteitsdetails
Raadpleeg de onderstaande nalevingsinformatie die specifiek is voor dit product.
De volgende informatie wordt verstrekt door de onafhankelijke externe detailhandelaar die dit product verkoopt.
Fabrikant:
Hieronder treft u de contactgegevens van de fabrikant van het betreffende product dat op Fruugo wordt verkocht.
- Shenzhenshidimeinuokejiyouxiangongsi
- Shenzhenshidimeinuokejiyouxiangongsi
- Longgangqulonggangjiedaoainanlu78haolihaogongyeyuanBdong715
- Shenzhenshi
- CN
- 518100
- vbxvtj@163.com
- 13626598789
Verantwoordelijke persoon in de EU:
De volgende informatie bevat de contactgegevens van de verantwoordelijke persoon in de EU. De verantwoordelijke persoon is de aangewezen marktdeelnemer in de EU, die verantwoordelijk is voor de nalevingsvereisten met betrekking tot het product dat in de Europese Unie verkocht wordt.
- CREAMDEL SASU
- CREAMDEL SASU
- CHEZ DOMIDEAL, 11 AVENUE CARNOT,
- BESANCON
- France
- 25000
- Stupidpuppyeu@outlook.com
- 33 751334518